Strain Measurement
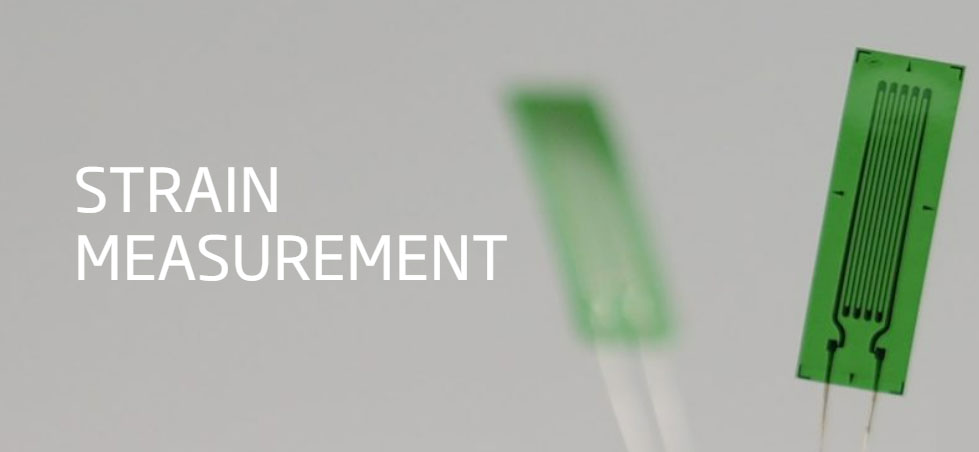
Our DAQ modules for strain measurement with Carrier Frequency Excitation superimpose a high-frequency carrier signal onto the strain signal of interest before measuring it to filter out unwanted low-frequency noise and interference, which allows for more accurate measurements of the strain.
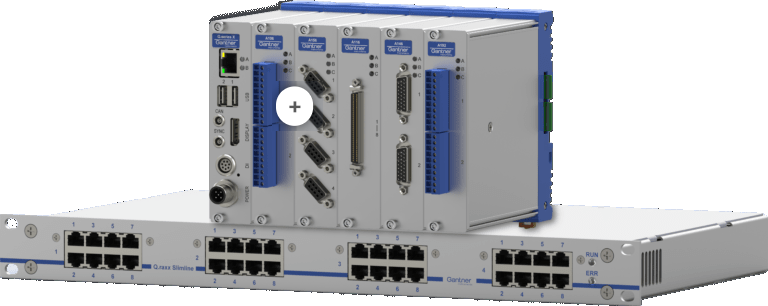
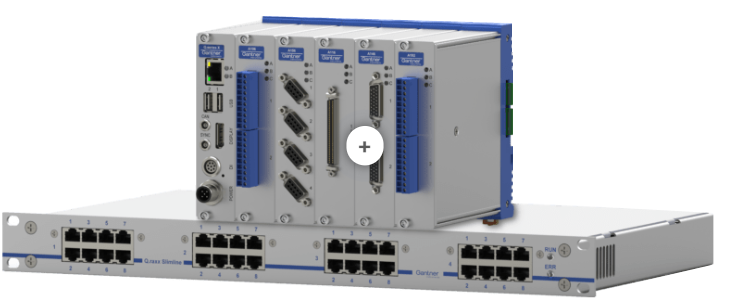
We offer DAQ modules with the capability to measure all three types of strain gages, giving you flexibility and compatibility with a wide range of applications. Select the best type of gage for a particular application and always make the most accurate and appropriate measurements.
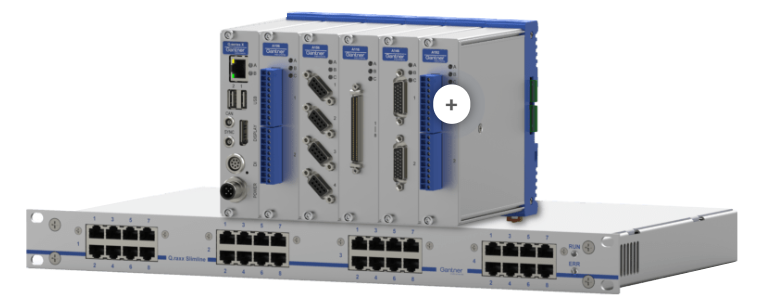
For specialized use cases, you can also consider our universal analog input DAQ modules that can also perform full, half, and quarter bridge strain measurements with the flexibility to freely program the sensor excitation up to 12 V or utilize the included ± 10 V or 0-20 mA analog output.
Where is Strain Measurement used?
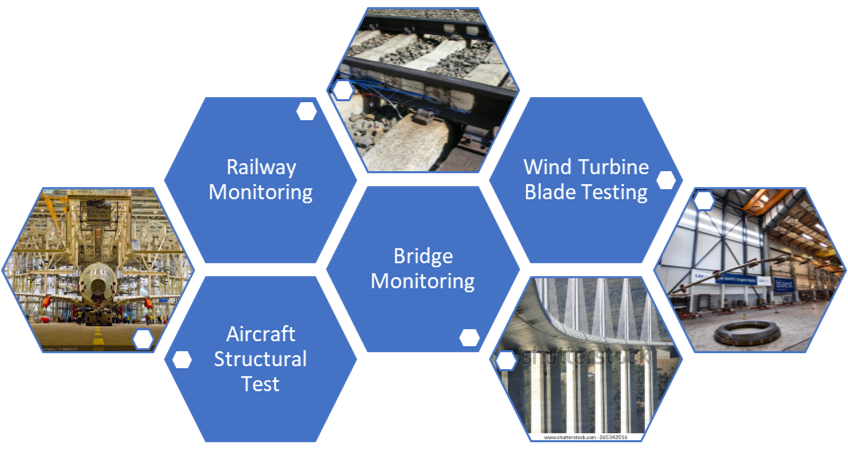
Strain gage technology has practically unlimited uses in the field of structural test and monitoring applications, like durability testing of structural components in the automotive and rolling stock industry. The use of strain gage technology in aviation, military, and space applications has a long history. Strain gages are bonded directly to structural load-bearing components for static and fatigue testing of components and sub-assemblies. In the renewable wind energy industry, strain gage technology is applied to test the structural performance of wind turbine blades and bearings, as well as for structural health monitoring of wind turbines in the field. Strain gages are also used to monitor civil infrastructure (bridges, tunnels, railways, dams), oil and gas pipelines, or nuclear plants.
Why Gantner for Strain Measurement?
01
High-resolution Strain Amplification
Single-ended inputs, such as quarter-bridge circuits, can be subject to ground loops and suffer from electric noise. A strain amplifier with a 24-bit sigma-delta A/D converter (ADC) results in lower quantization noise and a higher signal-to-noise ratio (SNR). Sigma-delta ADCs use oversampling, filtering, and noise shaping to achieve the highest resolution.
Need Reliable Results Fast?
Our whitepaper assists you in addressing the challenging issues of strain gage measurement.
02
Measurement Range Matters
Accuracy is influenced by the measurement range and measuring amplifier's gain accuracy. Gantner's modern measuring amplifiers provide adjustable measurement ranges with a gain accuracy of ± 0.05 %. A measurement range of ± 2000 µm/m would result in a full-scale error of only 1 µm/m, and a wide measurement range of ± 20,000 µm/m for crack detection would have a full-scale error of just 10 µm/m.
Need Reliable Results Fast?
Our whitepaper assists you in addressing the challenging issues of strain gage measurement.
03
Optimal Bridge Excitation Voltage
Thermal drift due to strain gage self-heating causes an apparent change in the strain that is not actually due to the deformation of the specimen. The higher the excitation voltage supplied to the gage, the more power and heat are generated by the current running through the wires. Gantner Instruments' strain amplifiers provide a pulse bridge excitation to minimize the error due to sensor self-heating.
Need Reliable Results Fast?
Our whitepaper assists you in addressing the challenging issues of strain gage measurement.
04
Automatic Lead Wire Resistance Compensation
Gantner uses a proven method for continuous correction of lead wire resistance through ratiometric sensing of the internal bridge completion resistor that automatically corrects measurement errors, even during the measurement. There is no need for manual shunt calibration, thus also eliminating operator errors.
Need Reliable Results Fast?
Our whitepaper assists you in addressing the challenging issues of strain gage measurement.
05
Carrier Frequency Technology
Carrier frequency amplifiers eliminate all frequencies and harmonics outside the carrier frequency bandwidth as data is collected in real-time, including thermoelectric voltage noise, power line frequencies, and the resonance frequencies of motors nearby. Doing so improves the quality of signals during the measurement and signal integrity if used for a control signal. Such qualities are ultimately necessary to achieve the best strain measurement results.
Need Reliable Results Fast?
Our whitepaper assists you in addressing the challenging issues of strain gage measurement.
Product Example: Measuring Module A116
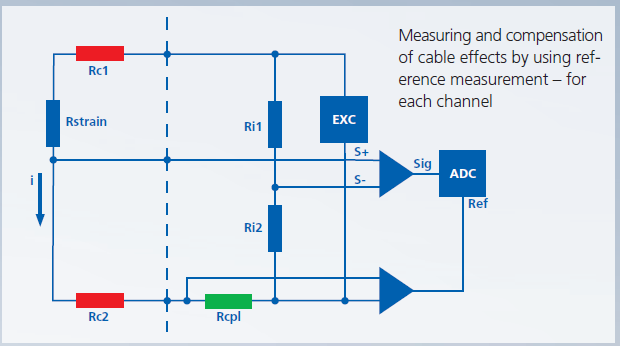
- Measuring and conditioning of up to 8 parallel channels with 10 kHz – no multiplexing
- Compensates cable interferences by simultaneous reference measurement of the voltage drop
- 120-Ω and 350-Ω padding resistors – 0.05 ppm / K – for high-temperature stability
- Shunt resistor for detecting changes during the measurement
- Measuring range 2,000 μm / m and 20,000 μm / m for easy adjustment to the signals
- Q.station allows synchronous detection (jitter 1 μs) of several hundred channels
A 350-Ω strip changes its resistance at 1000 μm / m (k=2) to 700 mΩ. The temperature stability of the A116 padding resistor is 0.05 ppm / K, which corresponds to 0.025 μm / m per degree of temperature change or 0.025% / 10 K. If resistor stability is only 5 ppm / K, for example, the deviation will be 2.5 μm / m per degree or 2.5% / 10 K.

